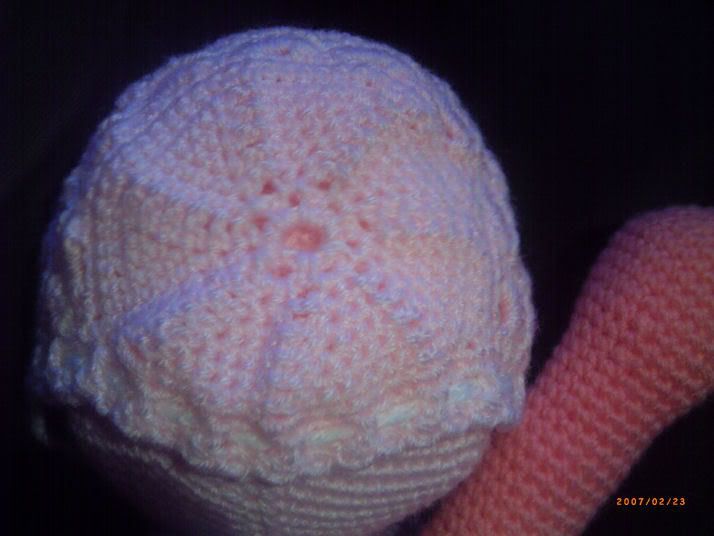
This is, of course, her head

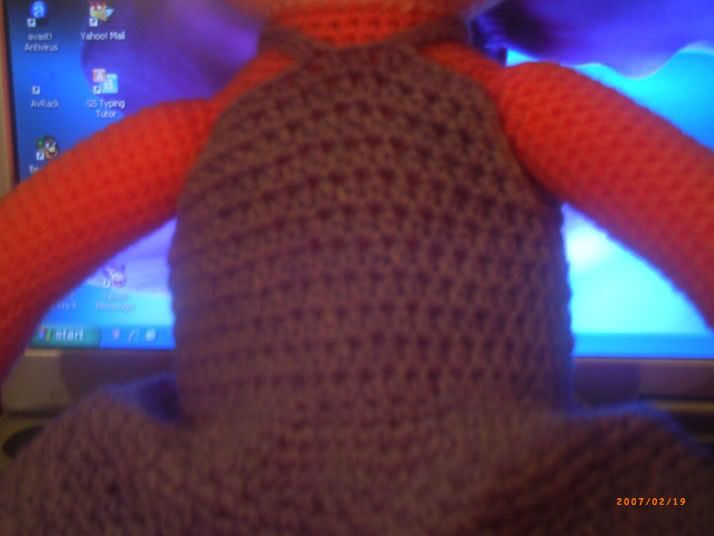
And her bod.

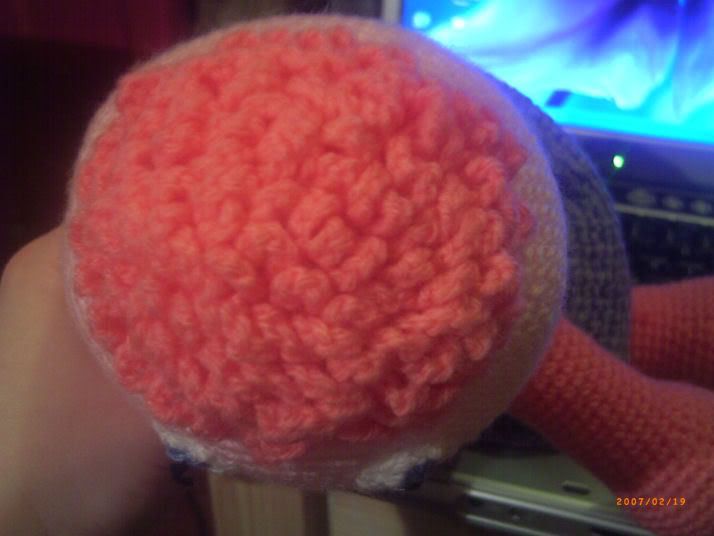
A leg.

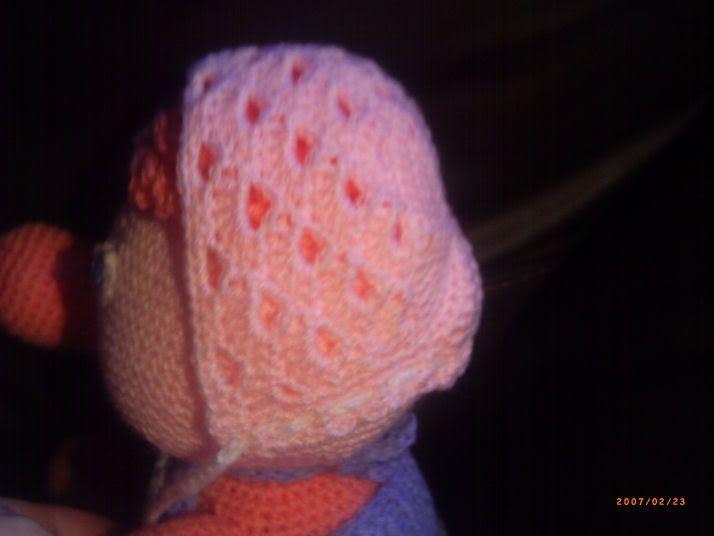
Her hair (as cute as it looks, it's a pain in the ASS to do!!!).

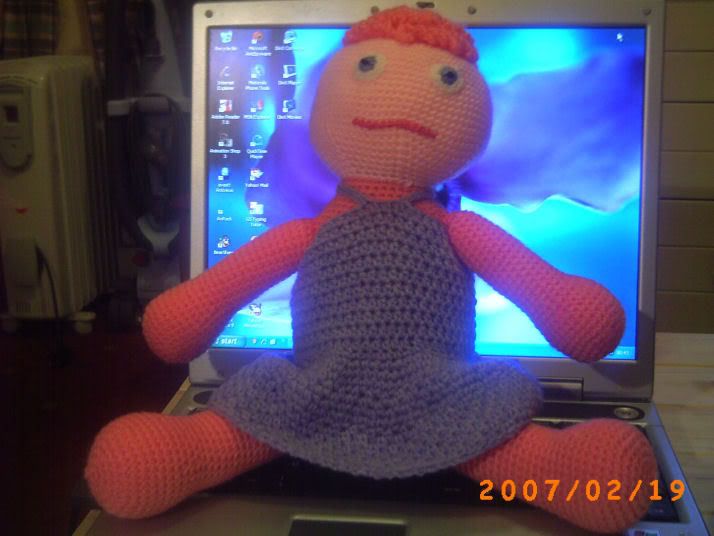
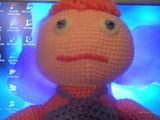
And here she is in her entirety. I didn't follow a pattern when I made her... I made up my own!!! *yay me!!* *lol*
I wrote it down as I went along, and I'm going to share it here, just in case anybody's interested in making one like it.
Ellie – a baby doll to crochet
Suzanne Barrow
© 2007
Materials needed:
Yarn of your choice
Complimentary hook (you don’t want to wear the skin off your fingers trying to push the hook through your work, but you DO want your stitches nice and tight).
Stitch markers
Stuffing
Notes:
Use your stitch marker to mark the first stitch in the ring.
The adjustable ring can be found here.
Head
Using an adjustable ring, sc 6 sts into ring, and pull to close.
Round 1: 2 sc in each st around (12 sts)
Round 2: {2 sc in first st, 1 sc in next st}, repeat from { to } around (18 sts)
Round 3: {2 sc in first st, 1 sc in next 2 sts}, repeat from { to } around (24 sts)
Round 4: {2 sc in first st, 1 sc in next 3 sts}, repeat from { to } around (30 sts)
Round 5: {2 sc in first st, 1 sc in next 4 sts}, repeat from { to } around (36 sts)
Round 6: {2 sc in first st, 1 sc in next 5 sts}, repeat from { to } around (42 sts)
Round 7: {2 sc in first st, 1 sc in next 6 sts}, repeat from { to } around (48 sts)
Round 8: {2 sc in first st, 1 sc in next 7 sts}, repeat from { to } around (54 sts)
Round 9: {2 sc in first st, 1 sc in next 8 sts}, repeat from { to } around (60 sts)
Round 10: {2 sc in first st, 1 sc in next 9 sts}, repeat from { to } around (66 sts)
Round 11: {2 sc in first st, 1 sc in next 10 sts}, repeat from { to } around (72 sts)
Rounds 12 – 23: sc in each st around (72 sts)
Round 24: {sc 2 tog [sc dec], 1 sc in next 10 sts}, repeat from { to } around (66 sts)
Round 25: {sc 2 tog, 1 sc in next 9 sts}, repeat from { to } around (60 sts)
Round 26: {sc 2 tog, 1 sc in next 8 sts}, repeat from { to } around (54 sts)
Round 27: {sc 2 tog, 1 sc in next 7 sts}, repeat from { to } around (48 sts)
Round 28: {sc 2 tog, 1 sc in next 6 sts}, repeat from { to } around (42 sts)
Round 29: {sc 2 tog, 1 sc in next 5 sts}, repeat from { to } around (36 sts)
Round 30: {sc 2 tog, 1 sc in next 4 sts}, repeat from { to } around (30 sts)
Fasten off, leaving a long tail for sewing.
Body
Using an adjustable ring, sc 6 sts into ring, and pull to close. Use your stitch marker to mark the first stitch in the ring.
Round 1: 2 sc in each st around (12 sts)
Round 2: {2 sc in first st, 1 sc in next st}, repeat from { to } around (18 sts)
Round 3: {2 sc in first st, 1 sc in next 2 sts}, repeat from { to } around (24 sts)
Round 4: {2 sc in first st, 1 sc in next 3 sts}, repeat from { to } around (30 sts)
Round 5: {2 sc in first st, 1 sc in next 4 sts}, repeat from { to } around (36 sts)
Round 6: {2 sc in first st, 1 sc in next 5 sts}, repeat from { to } around (42 sts)
Round 7: {2 sc in first st, 1 sc in next 6 sts}, repeat from { to } around (48 sts)
Round 8: {2 sc in first st, 1 sc in next 7 sts}, repeat from { to } around (54 sts)
Round 9: {2 sc in first st, 1 sc in next 8 sts}, repeat from { to } around (60 sts)
Rounds 10-34: sc in each st around (60 sts)
Round 35: {sc 2 tog, 1 st in next 8 sts}, repeat from { to } around (54 sts)
Round 36: sc in each st around (54 sts)
Round 37: {sc 2 tog, 1 st in next 7 sts}, repeat from { to } around (48 sts)
Round 38: sc in each st around (48 sts)
Round 39: {sc 2 tog, 1 st in next 6 sts}, repeat from { to } around (42 sts)
Round 40: sc in each st around (42 sts)
Round 41: {sc 2 tog, 1 st in next 5 sts}, repeat from { to } around (36 sts)
Round 42: sc in each st around (36 sts)
Round 43: {sc 2 tog, 1 st in next 4 sts}, repeat from { to } around (30 sts)
Round 44: sc in each st around (30 sts)
Fasten off
Arms (make 2)
Using an adjustable ring, sc 6 sts into ring, and pull to close. Use your stitch marker to mark the first stitch in the ring.
Round 1: 2 sc in each st around (12 sts)
Round 2: {2 sc in first st, 1 sc in next st}, repeat from { to } around (18 sts)
Round 3: {2 sc in first st, 1 sc in next 2 sts}, repeat from { to } around (24 sts)
Round 4: {2 sc in first st, 1 sc in next 3 sts}, repeat from { to } around (30 sts)
Round 5-9: sc in each st around (30 sts)
Round 10: {sc 2 tog, 1 sc in next 3 sts}, repeat from { to } around (24 sts)
Round 11: sc in each st around (24 sts)
Round 12: {sc 2 tog, 1 sc in next 2 sts}, repeat from { to } around (18 sts)
Round 13-29: sc in each st around (18 sts)
Round 30: {sc 2 tog, 1 sc in next st}, repeat from { to } around (12 sts)
Round 31: sc in each st around (12 sts)
Fasten off, leaving a long tail for sewing.
Legs (make 2)
Using an adjustable ring, sc 6 sts into ring, and pull to close. Use your stitch marker to mark the first stitch in the ring.
Round 1: 2 sc in each st around (12 sts)
Round 2: {2 sc in first st, 1 sc in next st}, repeat from { to } around (18 sts)
Round 3: {2 sc in first st, 1 sc in next 2 sts}, repeat from { to } around (24 sts)
Round 4: {2 sc in first st, 1 sc in next 3 sts}, repeat from { to } around (30 sts)
Round 5: {2 sc in first st, 1 sc in next 4 sts}, repeat from { to } around (36 sts)
Round 6-10: sc in each st around (36 sts)
Round 7: {sc 2 tog, 1 sc in next 4 sts}, repeat from { to } around (30 sts)
Round 8: sc in each st around (30 sts)
Round 9: {sc 2 tog, 1 sc in next 3 sts}, repeat from { to } around (24 sts)
Round 10-30: sc in each st around (24 sts)
Round 31: {sc 2 tog, 1 sc in next 2 sts}, repeat from { to } around (18 sts)
Round 32: sc in each st around (18 sts)
Fasten off, leaving a long tail for sewing.
Sew head to body; arms to body; and legs to body. If you want to add hair, add it any way you want. If you want to make clothes for your doll, by all means do so. But if you prefer your dolls nekkid, that’s okay too.